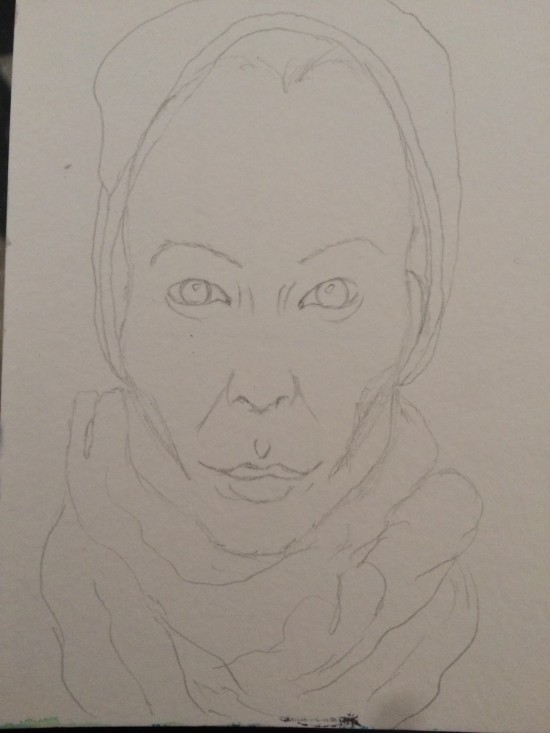
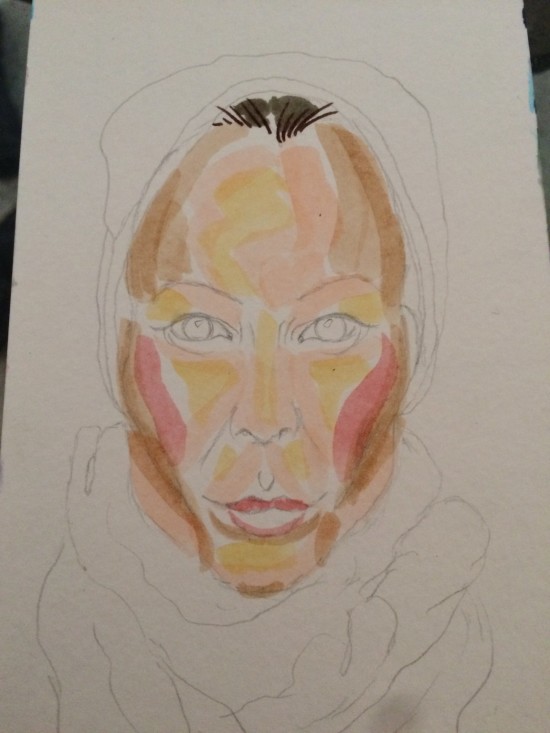
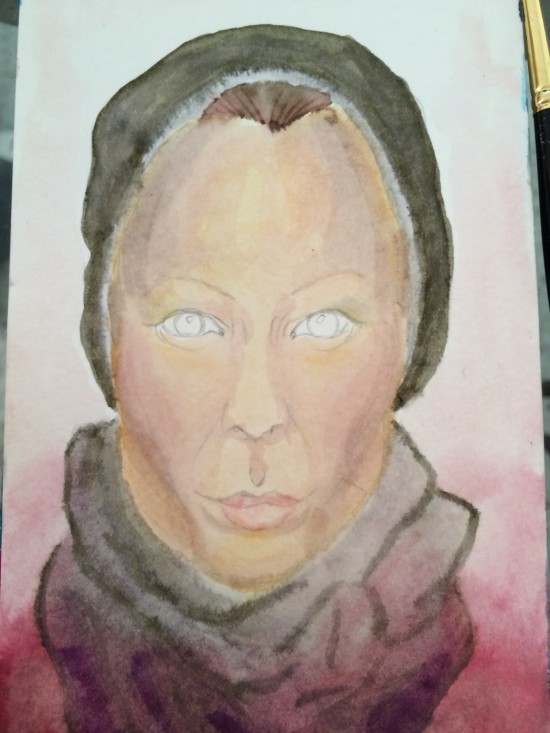
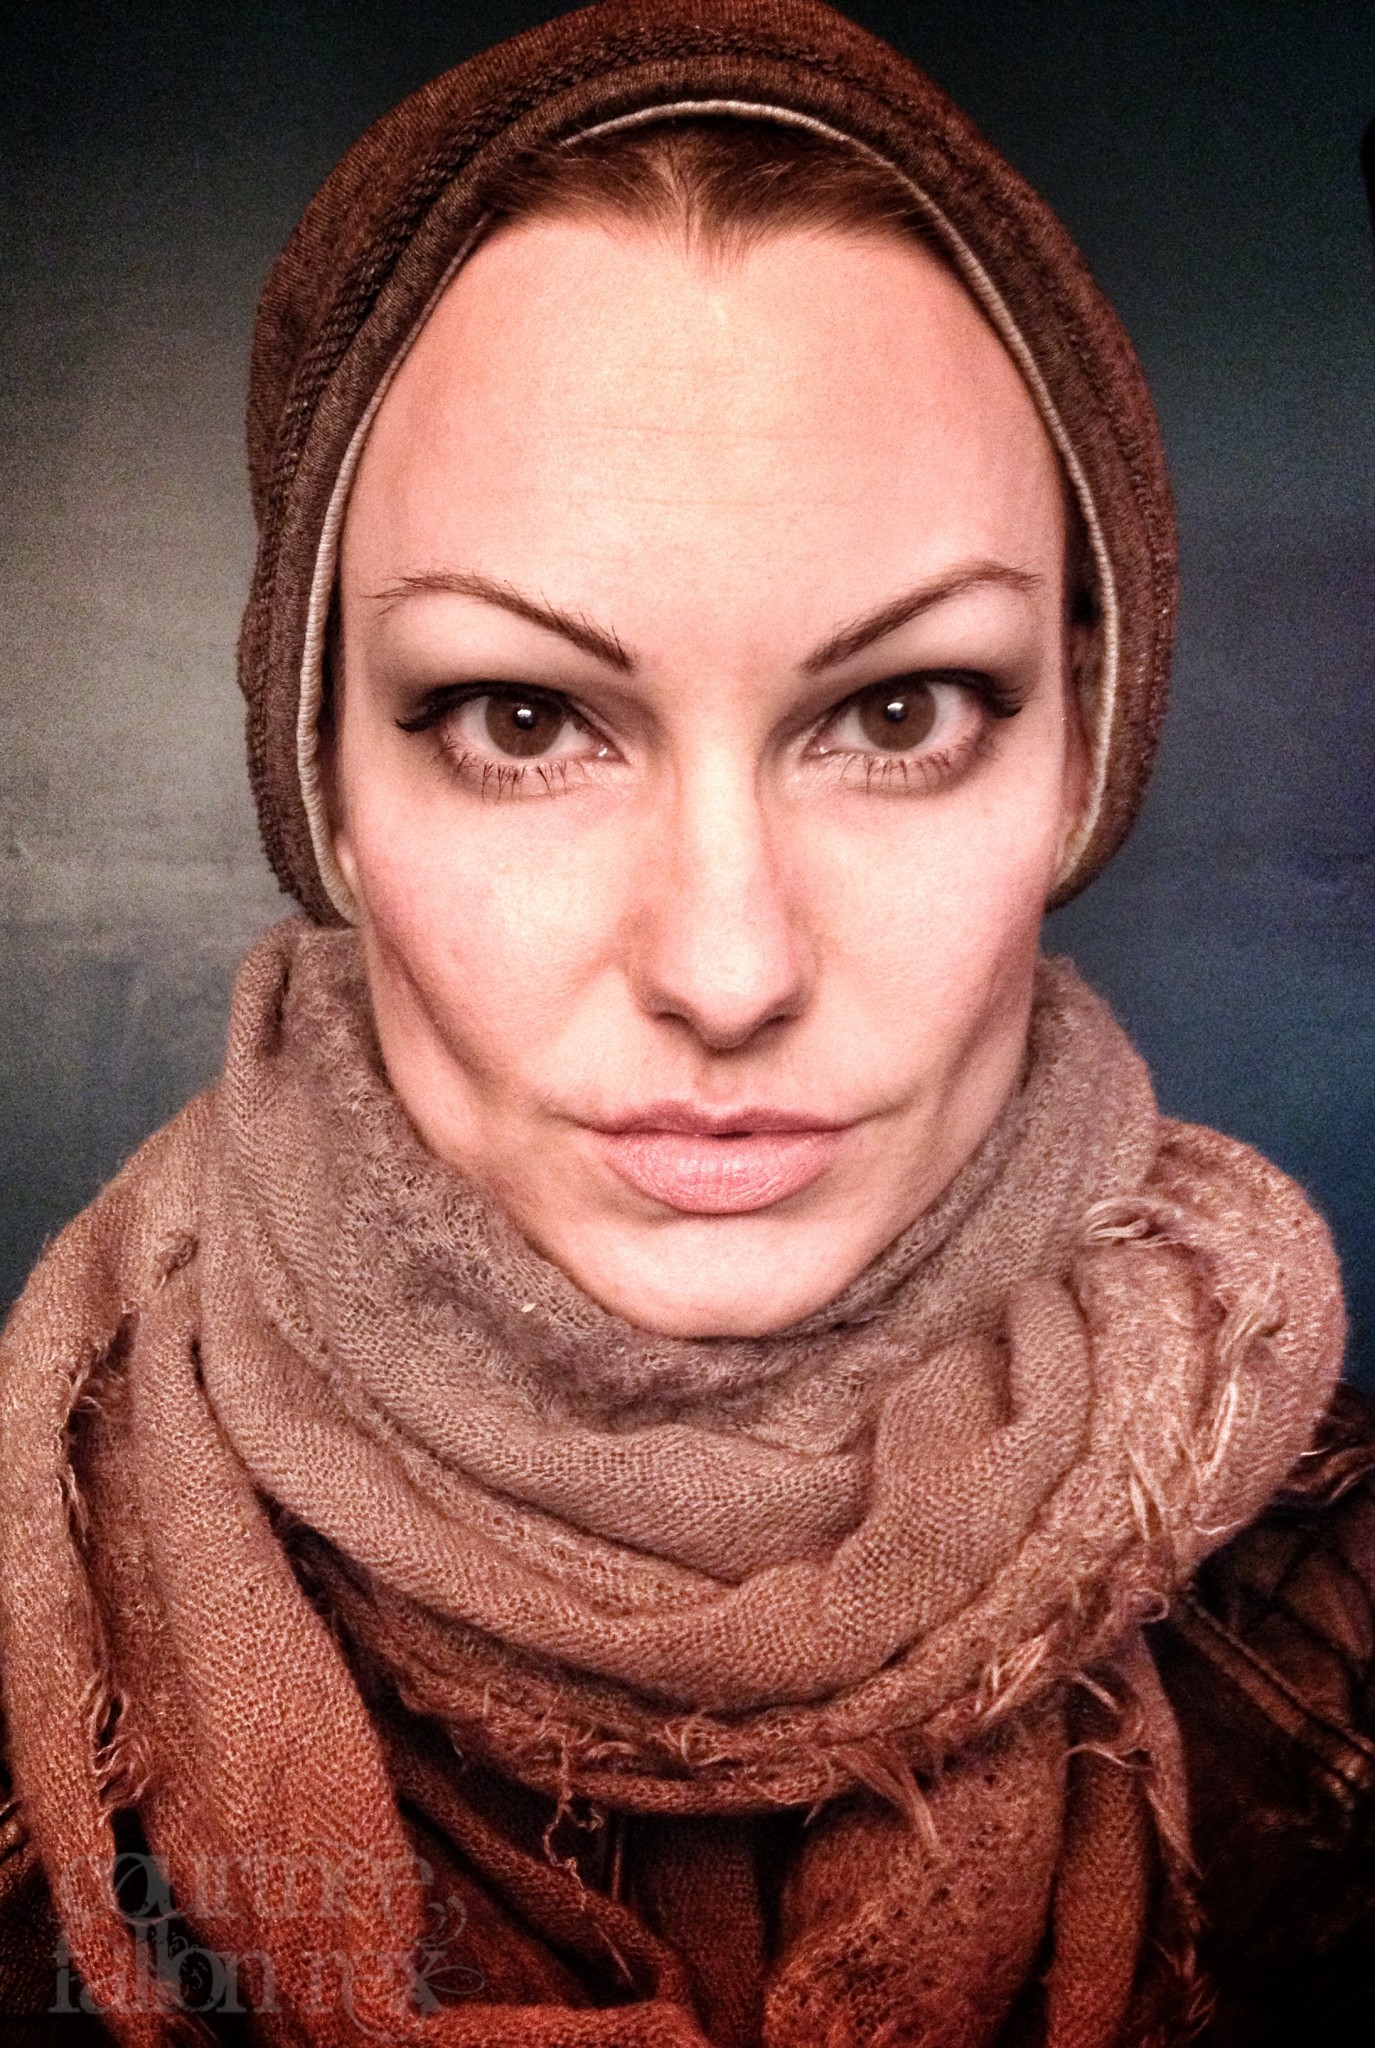
This is a 6 inch by 4 inch watercolor postcard. I used watercolor pens, tea, ballpoint and pencil. I used the above self-photograph image as a reference.
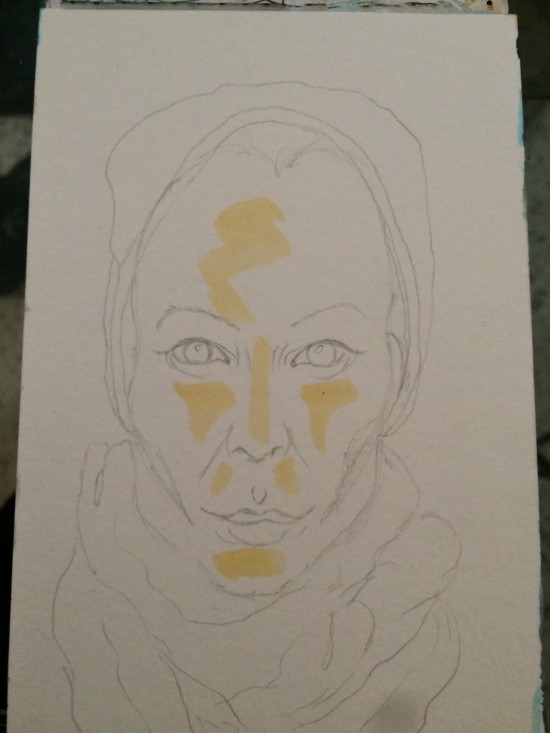
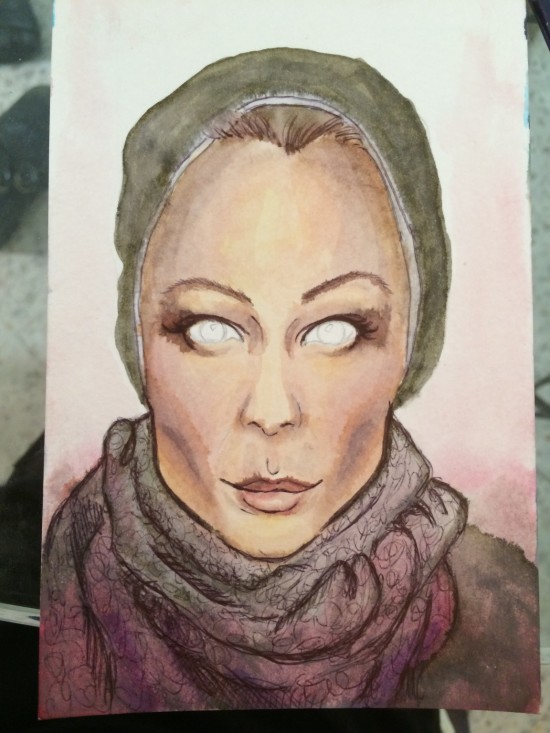
I started with pencil to sketch the basicsThen began adding watercolor pen to the dry paper
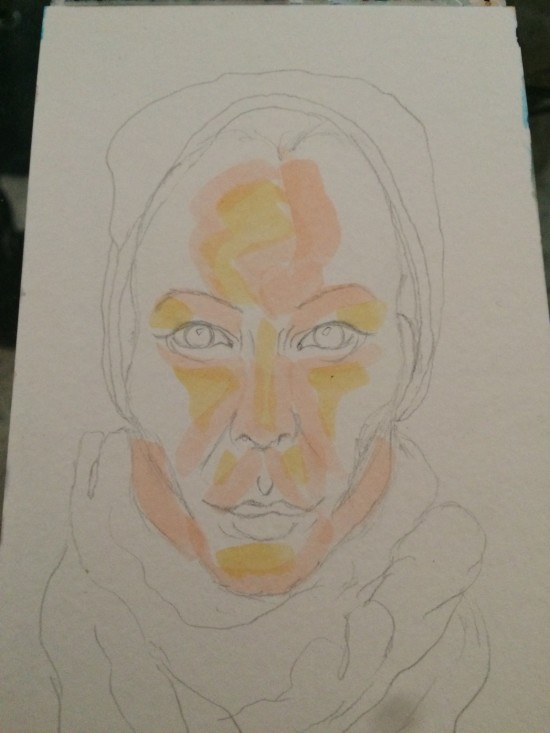
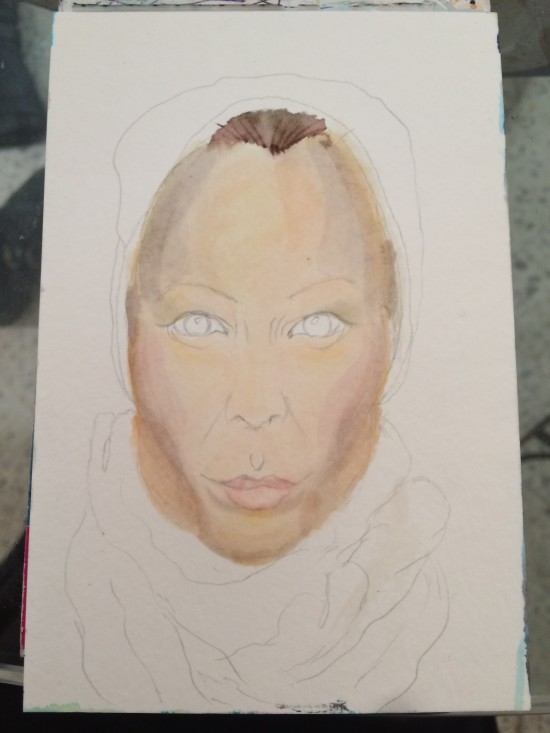
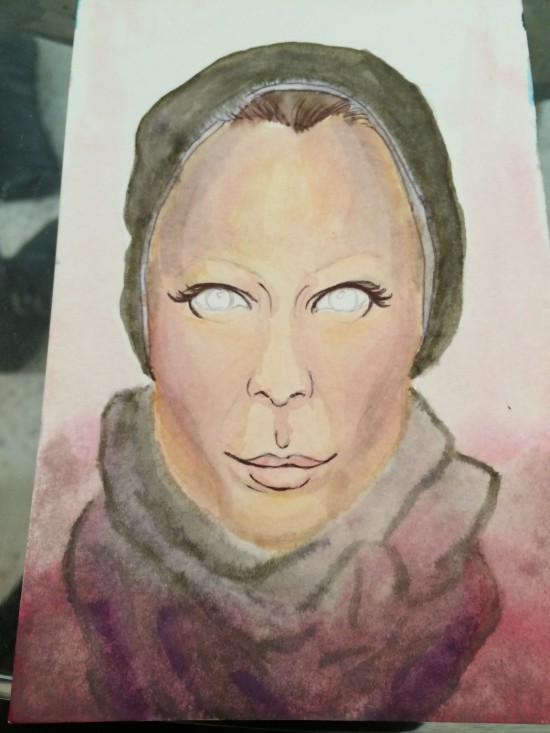
Now time to start adding tea and blending
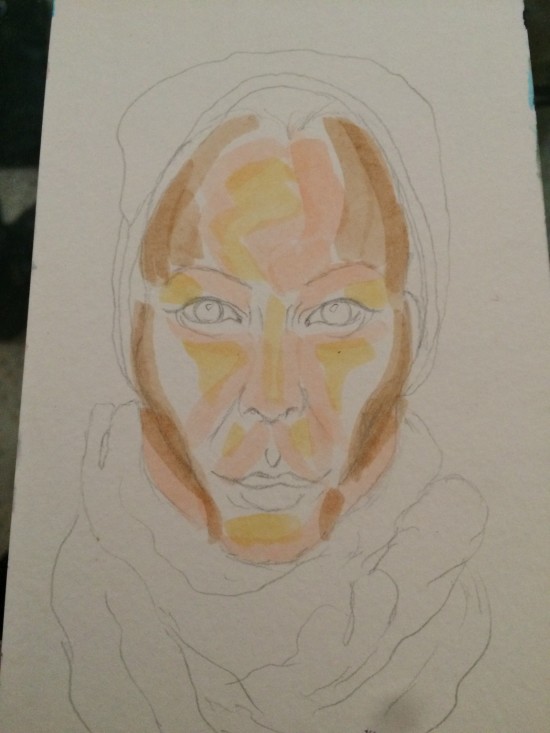
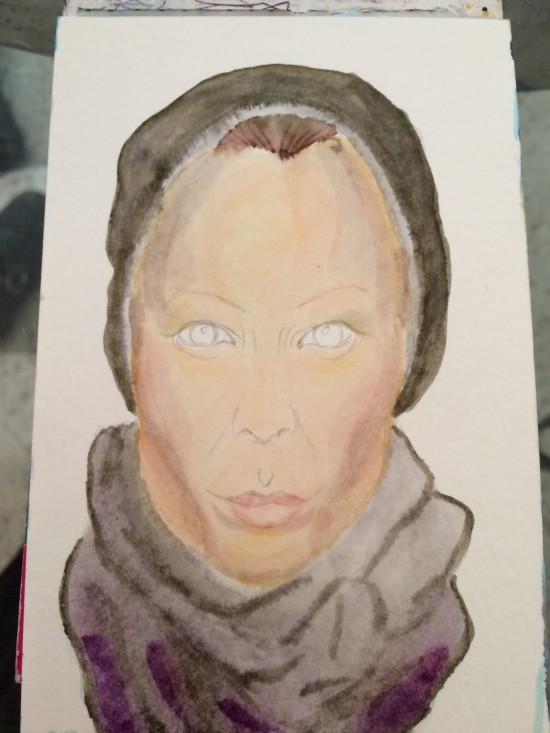
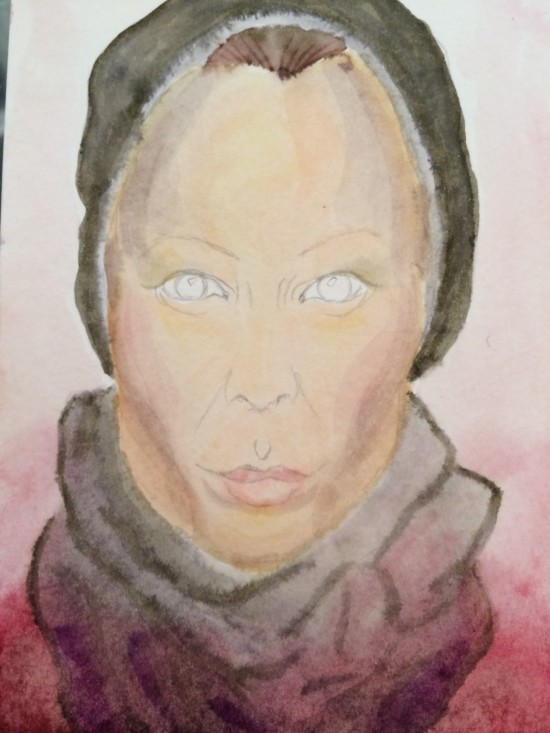
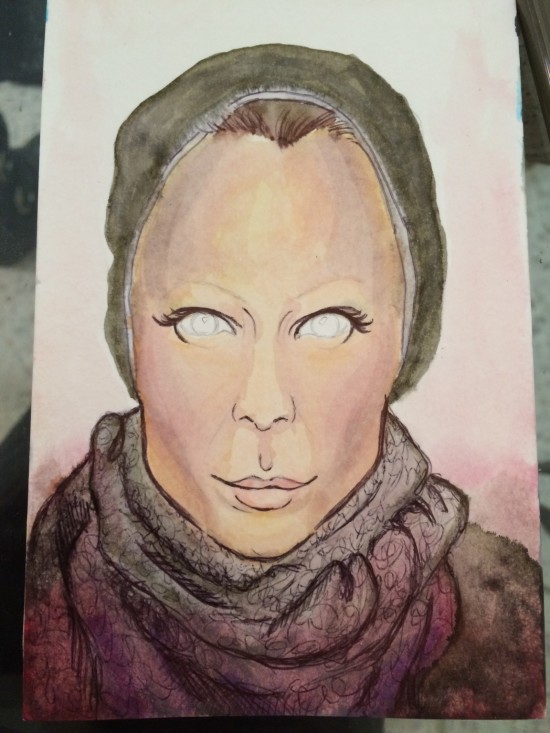
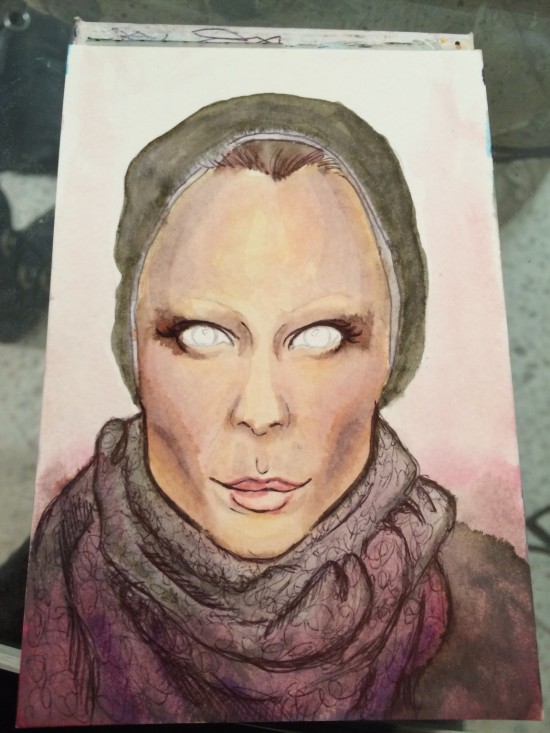
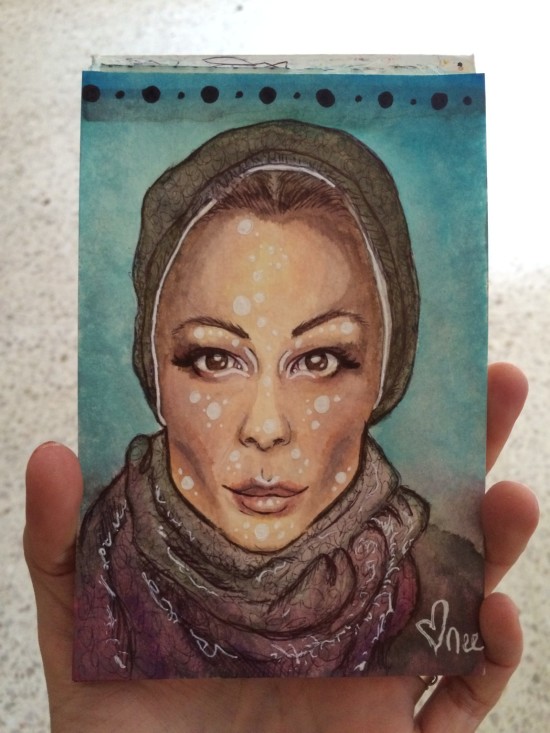
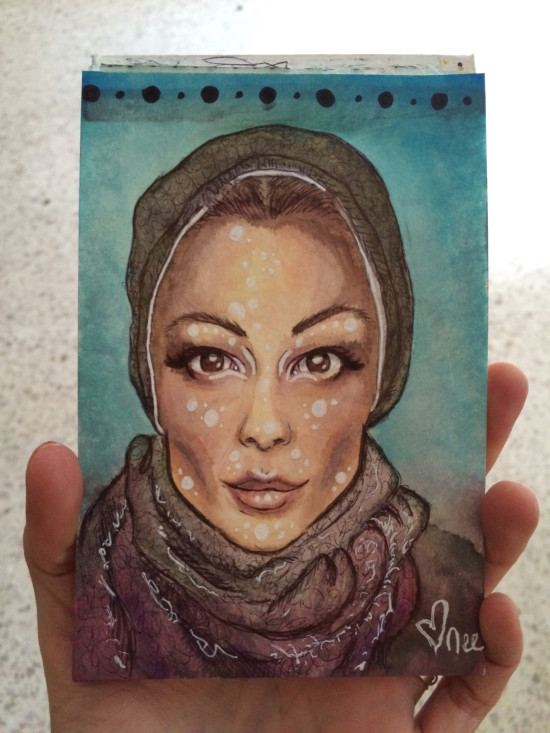
Adding ballpointAdding more watercolorAt this point, I realized my facial dimensions were off. I had made my eyes too small, and too close together. I tried shading and highlighting to make up for the issues.At this point I realized that not only were my eyes too far apart, but my mouth was too small and too low, also. These are very typical issues for me to have when I am working from a portrait reference.Once finished, with added highlightsI knew I wouldn’t want to use this as my avatar representation as I’d planned. Though it’s a good painting, it just didn’t look enough like me. The eyes were too small, too close, and the mouth was too small and far away. In addition, the head/hat was a little wonky, too.But then I remembered I have digital art skills too, even though I’ve never used them to fix watercolors. So I adjusted it in Photoshop. 🙂